
Deleting My Account
Permanently remove your account and data.

You can belong to more than one workspace at the same time — for example, two different departments at the same company, each with its own workspace. This article covers seeing all of them in one place, responding to pending invites, and leaving one you no longer need.
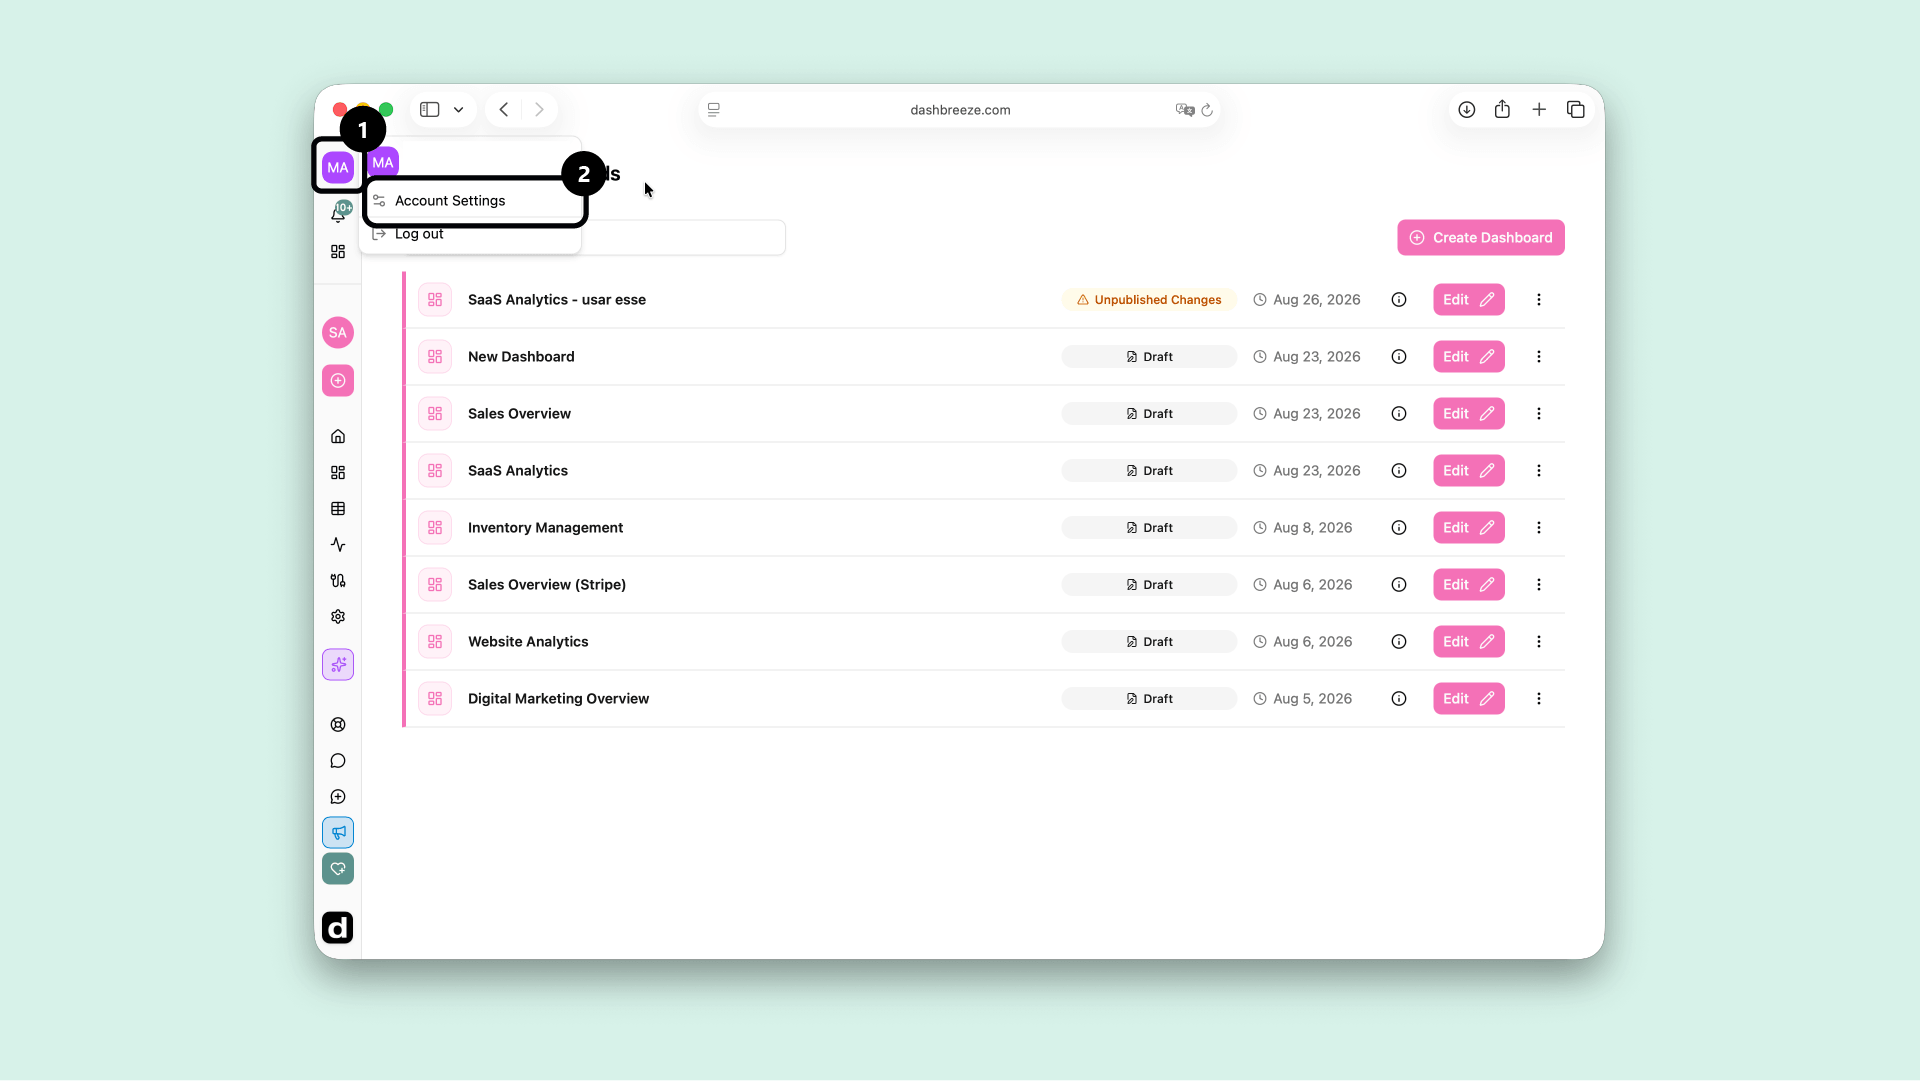
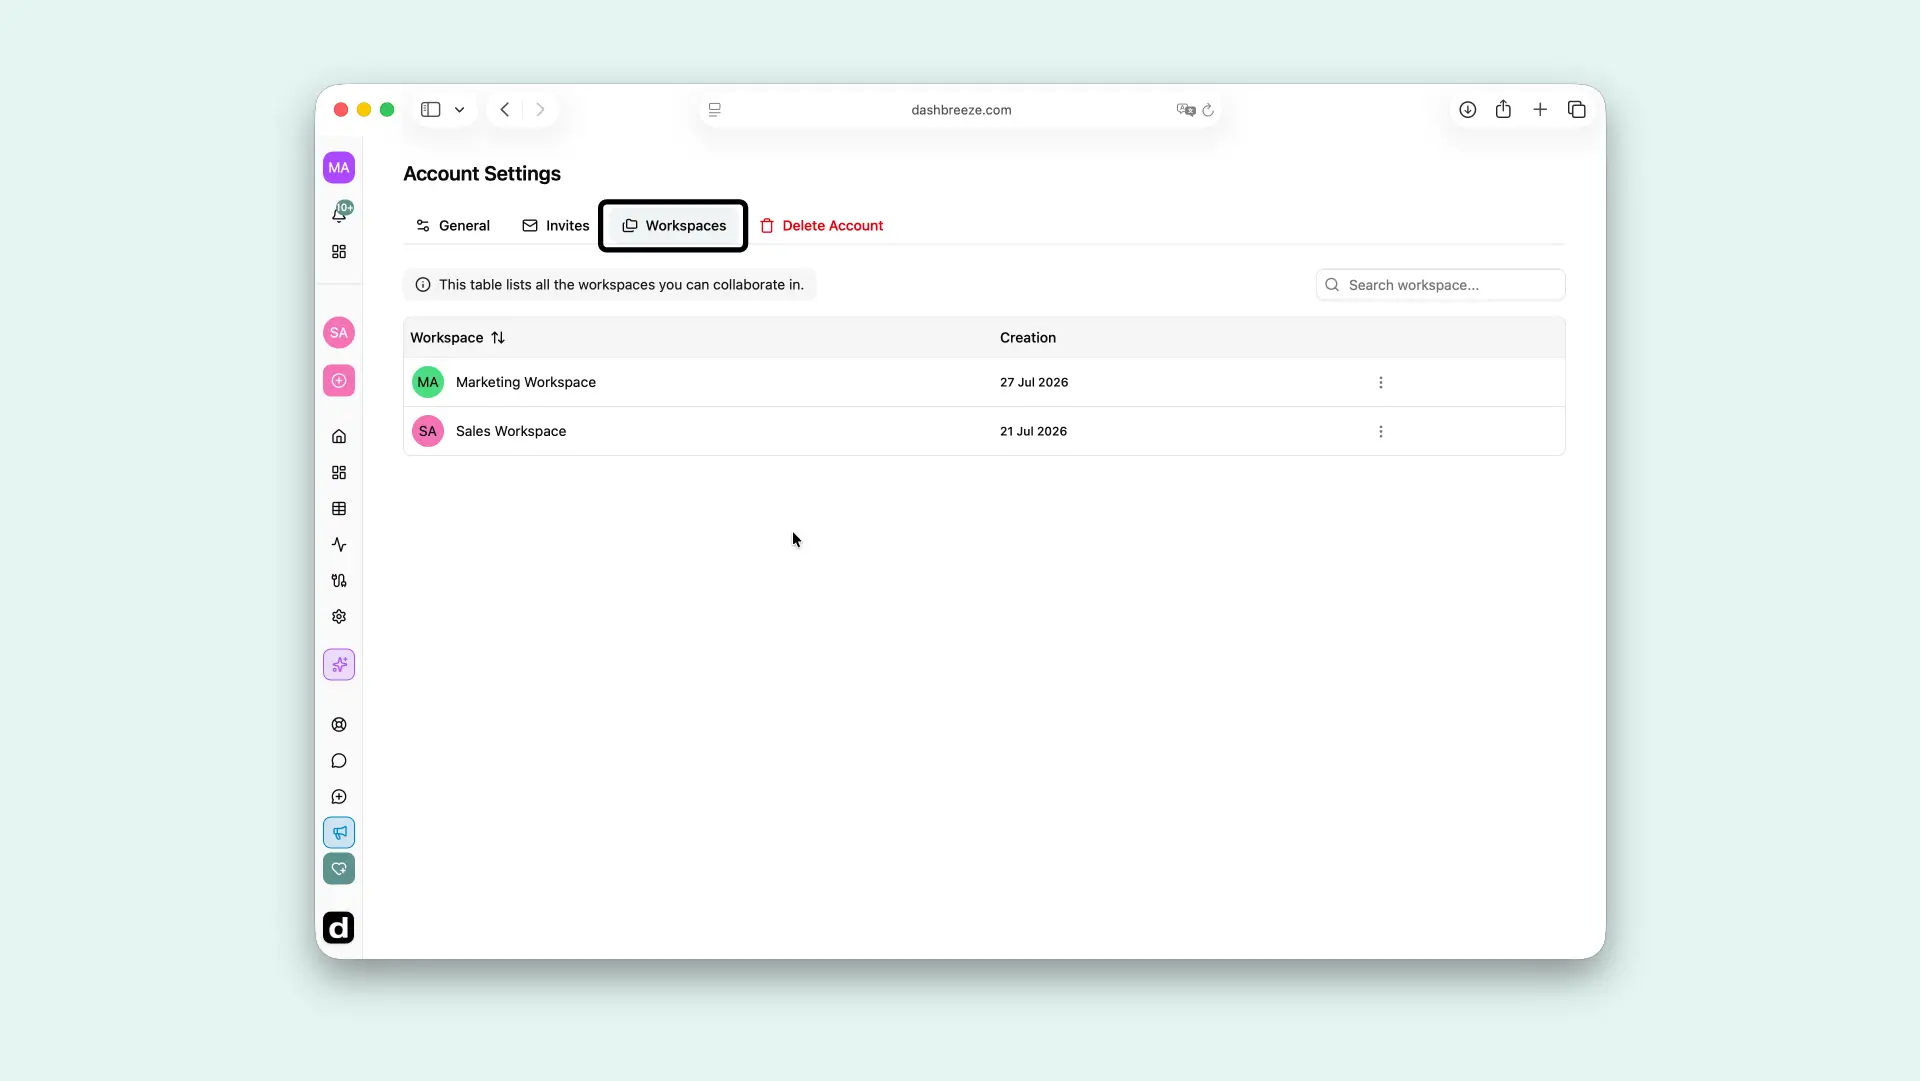
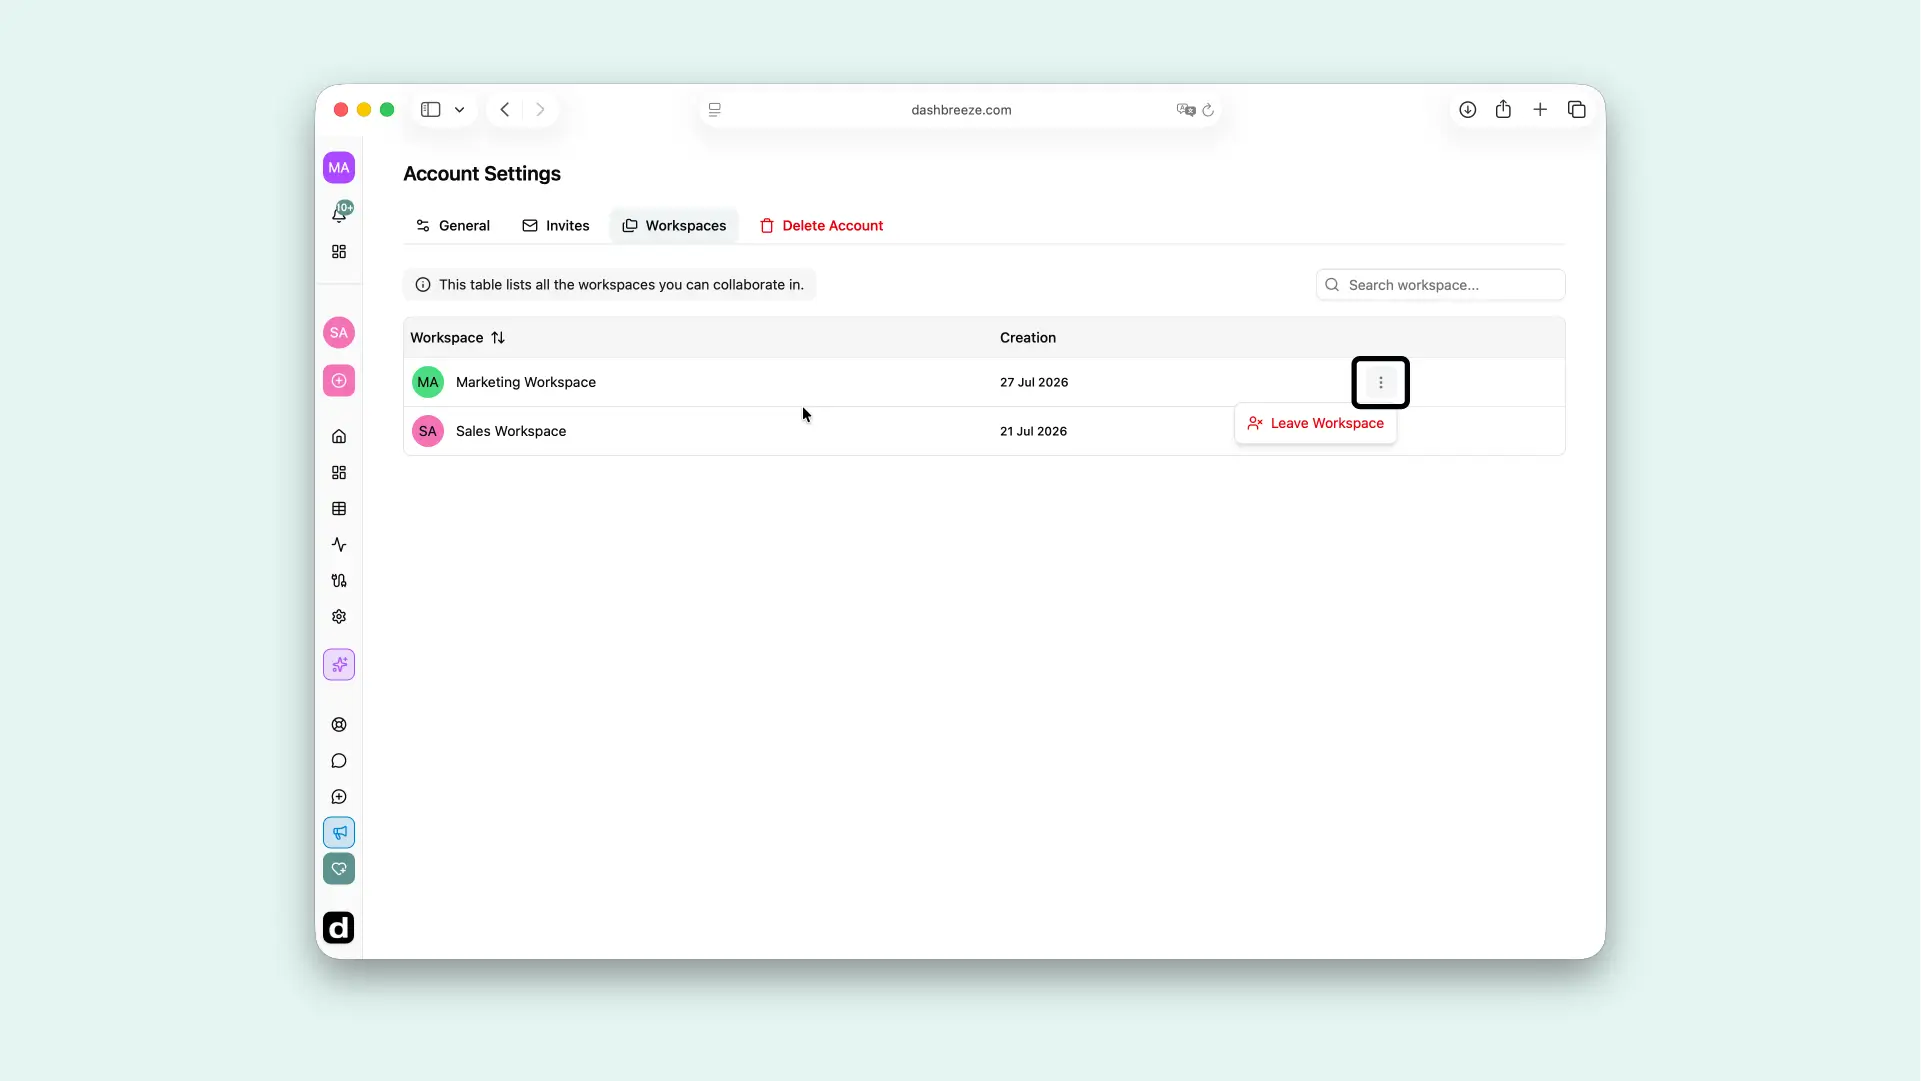
You'll see a table listing every workspace you're a member of, along with when you joined each one.
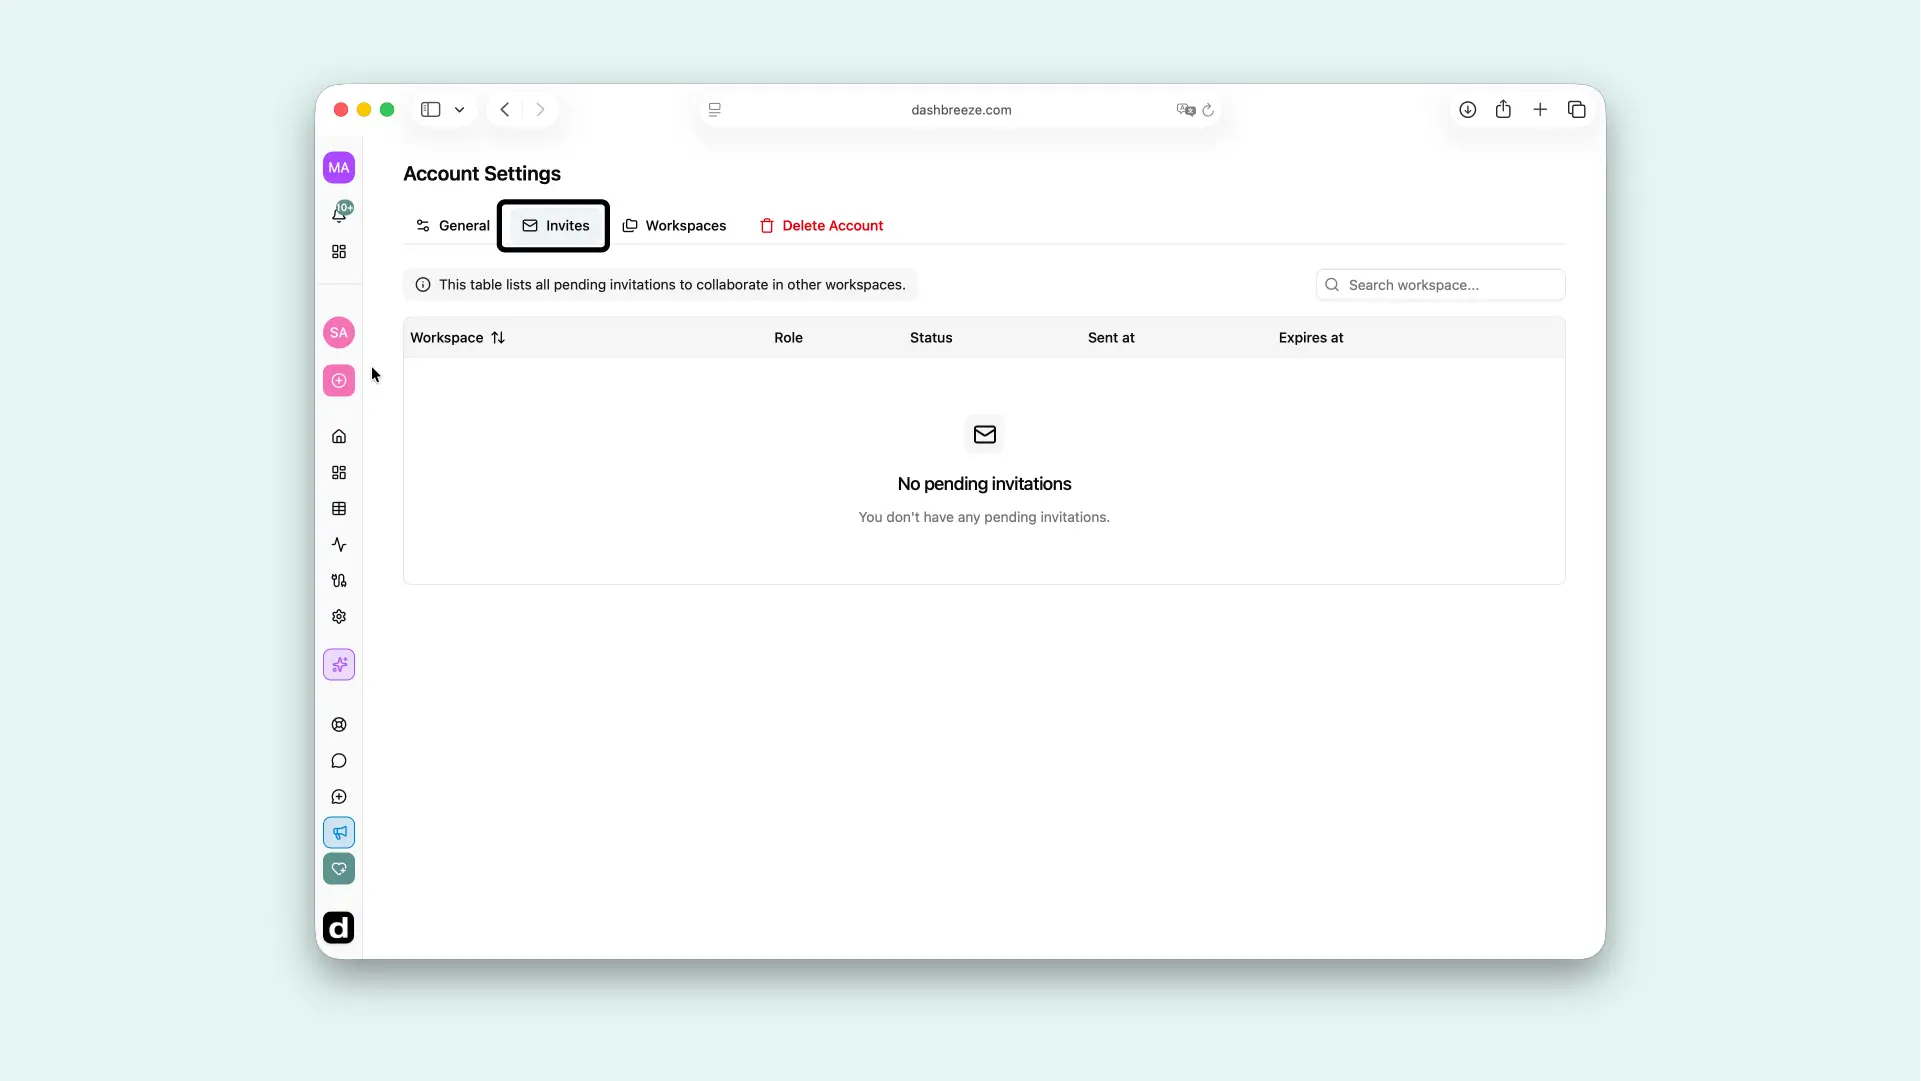
You'll see a table of every workspace invitation sent to your email, along with the role you'd have, its status, and when it was sent and expires.
Open a row's menu to Accept Invite or Reject Invite. Accepting adds the workspace to your list and makes it available from the workspace selector; rejecting removes the invitation without joining.
Expired invites:You can't accept an invitation after it expires — Reject Invite still works, but Accept Invite is disabled until the workspace owner sends a new one.
From the Workspaces tab in Account Settings, find the workspace you want to leave, open its row menu, and choose Leave Workspace. You'll be asked to confirm before you're removed.
Before you leave:Once you leave a workspace, you immediately lose access to its dashboards, tables, and data. If you're that workspace's Owner, transfer ownership to another member first, since someone needs to remain responsible for billing and workspace settings.