Workspace Roles & Permissions
Learn how roles control access and editing permissions.

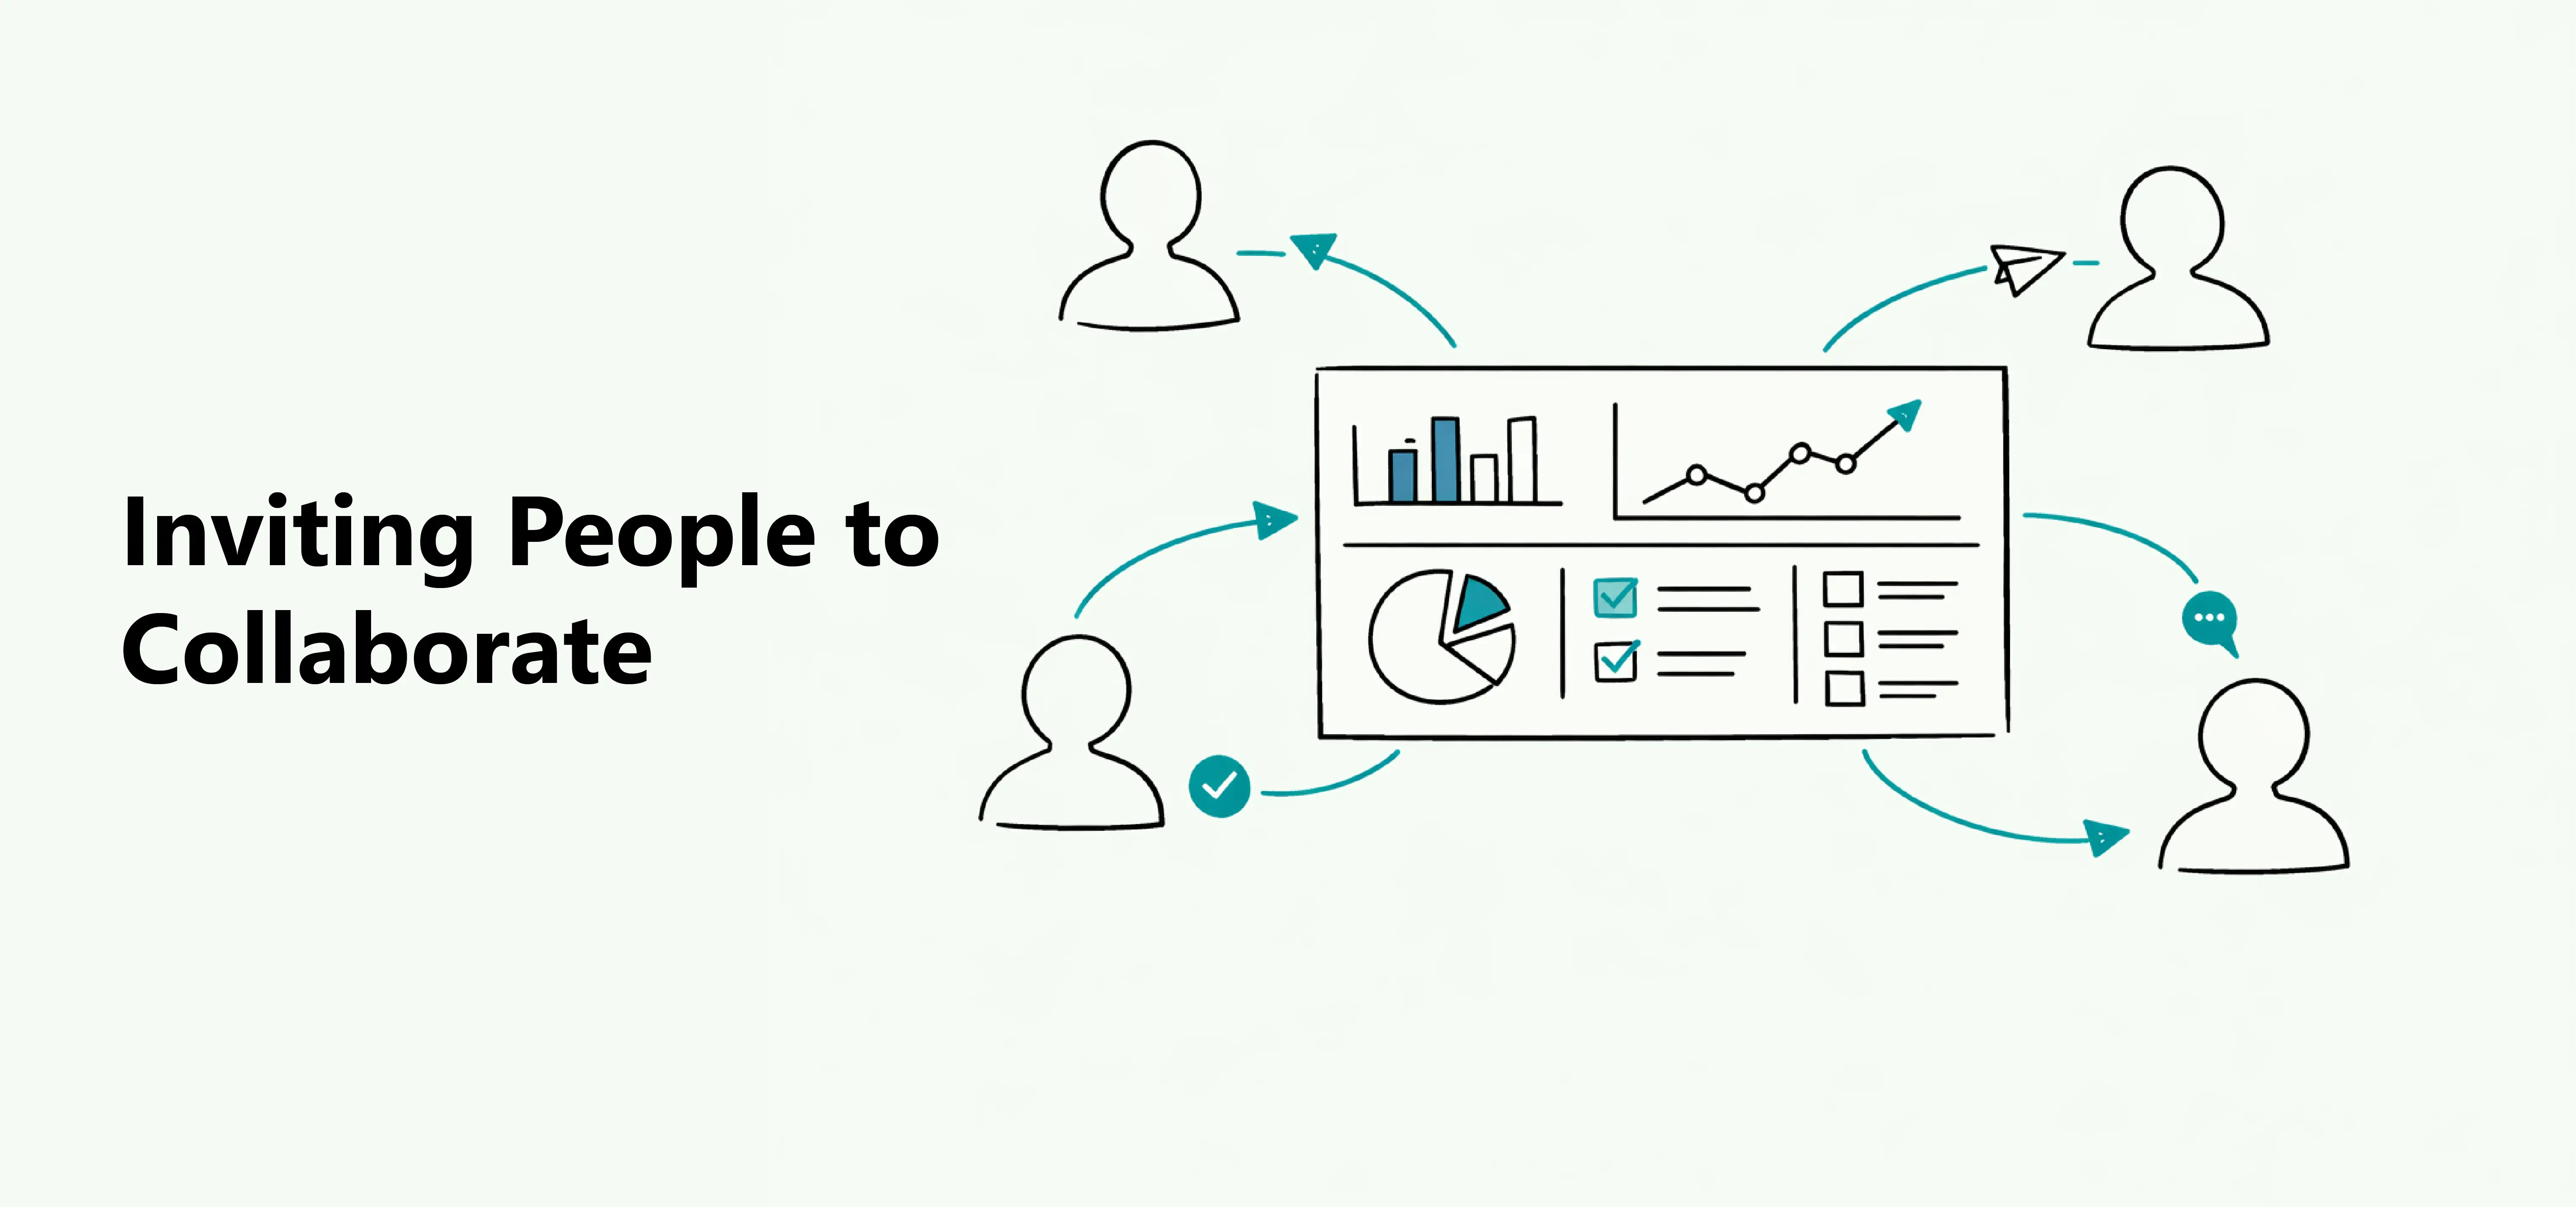
Workspaces allow you to collaborate with other people in the same environment. You can work together to create dashboards, connect data sources, and manage content as a team.
Invite someone to the workspace when they need ongoing access to build or manage content. If a person only needs to view a finished dashboard, sharing the published dashboard is usually more appropriate than making them a workspace member.
To invite someone, open the workspace where you want to add a new member. You can open a workspace by clicking its name in the left sidebar.
Then click the Invite members button.
In the invitation window, enter the person's email address and choose their role.
The invitation is tied to that email address. Ask the recipient to accept it using the same address, then open the workspace from their Dashbreeze account. If they cannot find the message, check the invitation status before sending another one.
Each workspace member has a role. A role defines what someone can do inside the workspace.
Owner
Full control over members, roles, billing, settings, and the workspace itself.
Highest access
Admin
Manages dashboards, tables, integrations, members, and invitations.
Team management
Member
Creates and manages dashboards, tables, and integrations without managing the team.
Content creation
Choose roles carefully to control who can manage the workspace and who can focus on creating and working with data.
Follow the principle of least access: choose Member for people who primarily create dashboards and work with data, Admin for people who also manage the team, and keep Owner access limited to the people responsible for billing and the workspace itself.
Need a complete permission comparison? Read the Workspace Roles & Permissions guide.
Important:Only Owners and Admins can manage invitations. Members do not have access to this section.
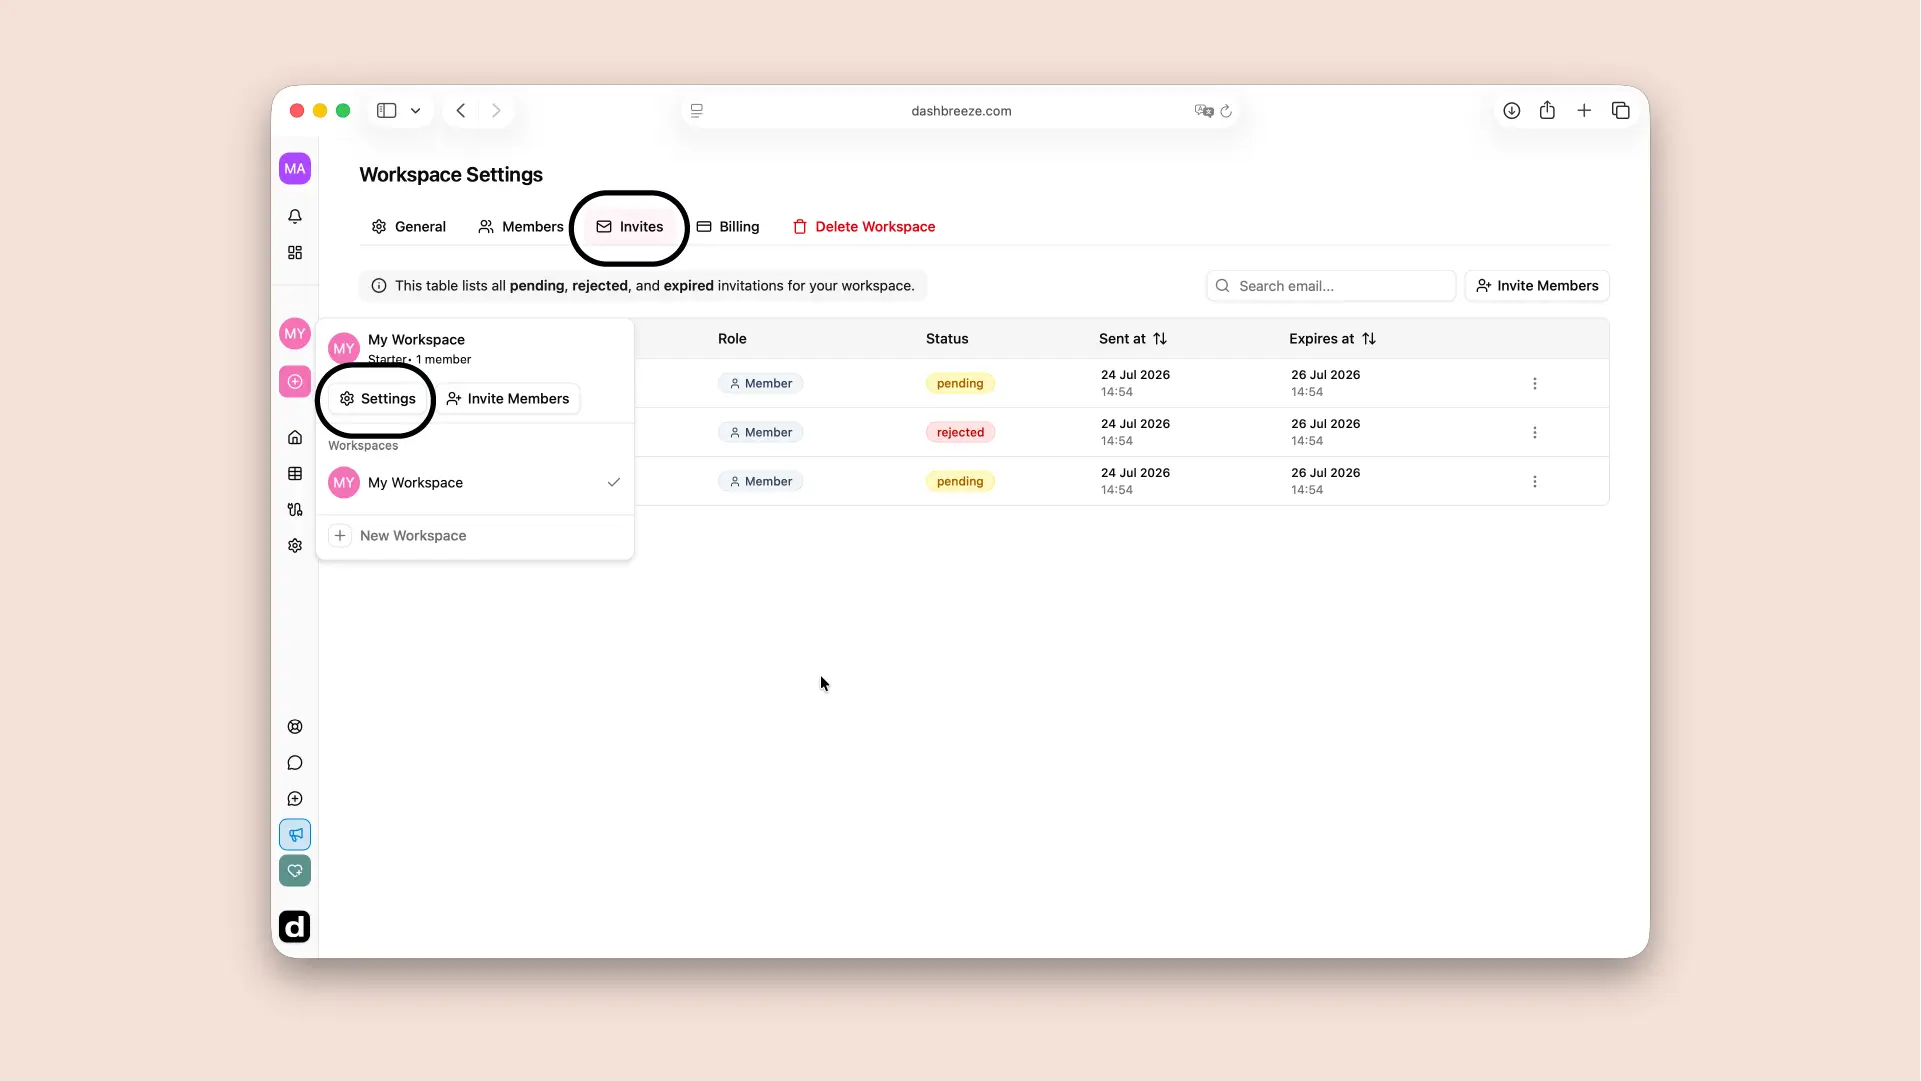
You can view and manage all pending, rejected, and expired invitations from the Invitations section.
To access it, open the workspace menu by clicking the workspace button in the top-left corner, then select Settings.
Review this list when someone reports that their invitation did not work. You can confirm whether it is still pending or has expired, then resend or replace it as needed. Remove obsolete invitations so the list remains easy to audit.
Important:Only Owners and Admins can manage workspace members. Members do not have access to this section.
You can view and manage all active members from the Members section.
To access it, open the workspace menu by clicking the workspace button in the top-left corner, then select Settings.
From the member list, Owners and Admins can keep access aligned with each person's responsibilities. Update a role when responsibilities change, and remove members who no longer need workspace access. These changes affect workspace access, not public dashboard links that may have been shared separately.