

Google Sheets
Connect Google Sheets, import spreadsheet tabs as tables, and keep dashboard data synchronized.


Upload a file from your computer and Dashbreeze will turn its data into tables you can use in your dashboards. You can upload Excel, CSV, JSON, and Parquet files. When the information changes, open the table and upload the latest version of the file.
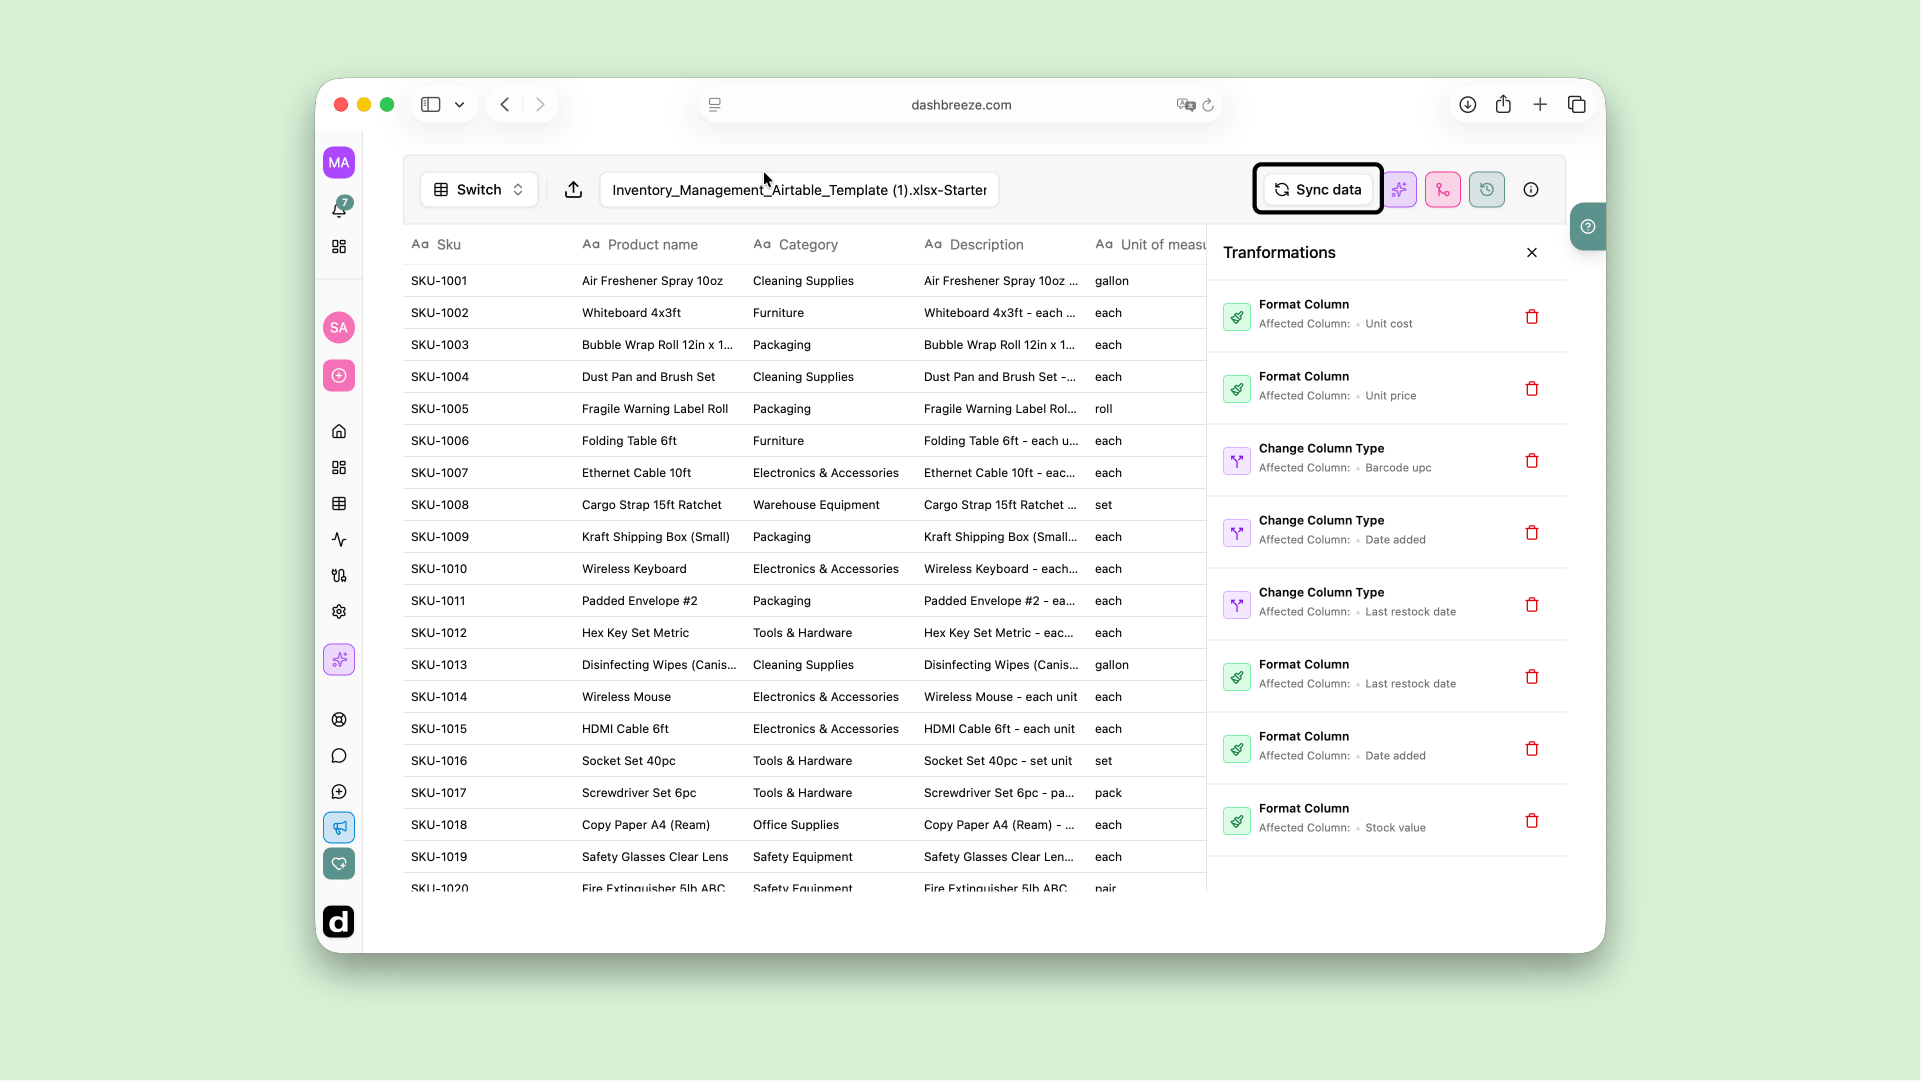
Important:Dashbreeze cannot check an uploaded file for changes automatically. To show newer data, open the table, select Sync data, and upload the latest version of the file.
Excel
Choose one or more worksheets to import as separate tables.
XLSX · XLS
CSV
Upload a simple table saved from Excel or another spreadsheet app.
CSV
JSON
Upload a collection of records saved as a JSON file.
JSON
Parquet
Upload larger datasets saved in the Parquet format.
PARQUET
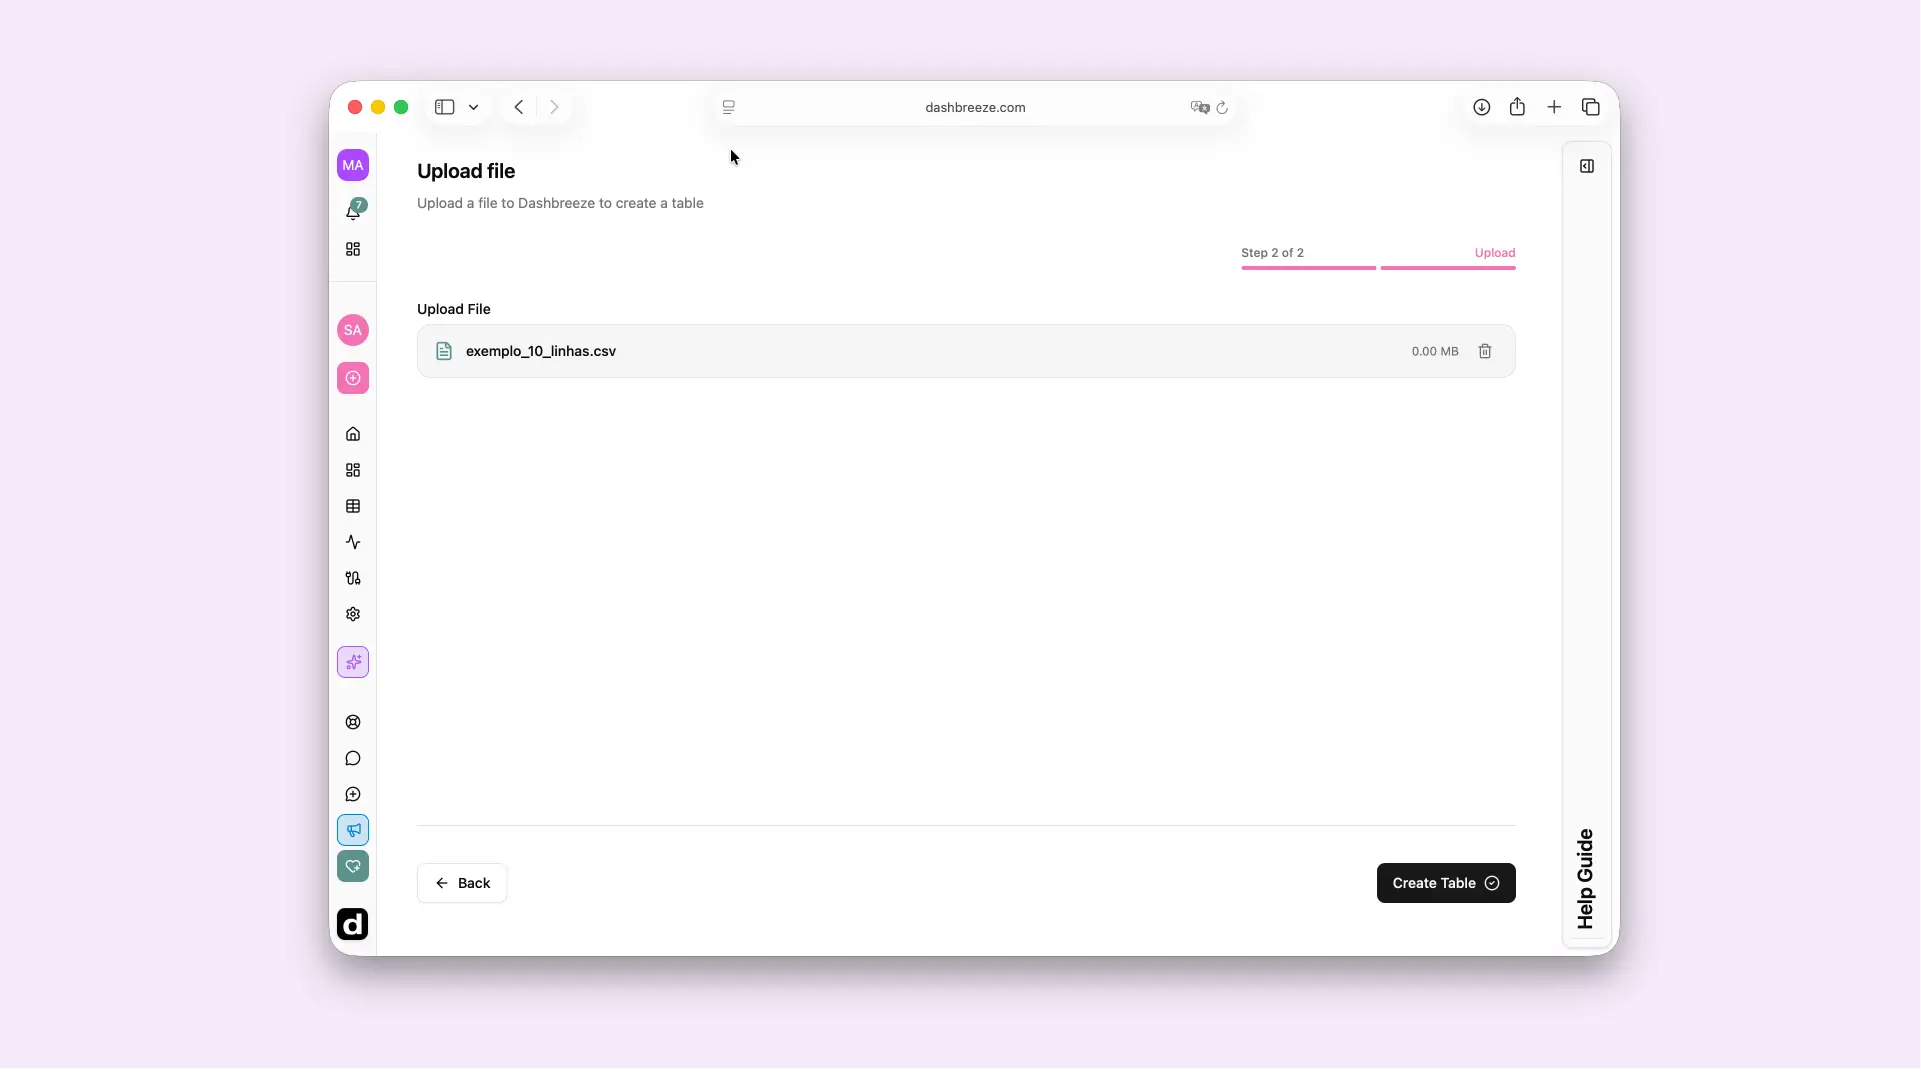
Before uploading, make sure every worksheet you plan to select follows the column-oriented structure described below.
Important:Keep the worksheet names the same after you create your tables. When you upload a newer version of the workbook, Dashbreeze looks for those original names. If a name has changed, Dashbreeze may not be able to update that table.
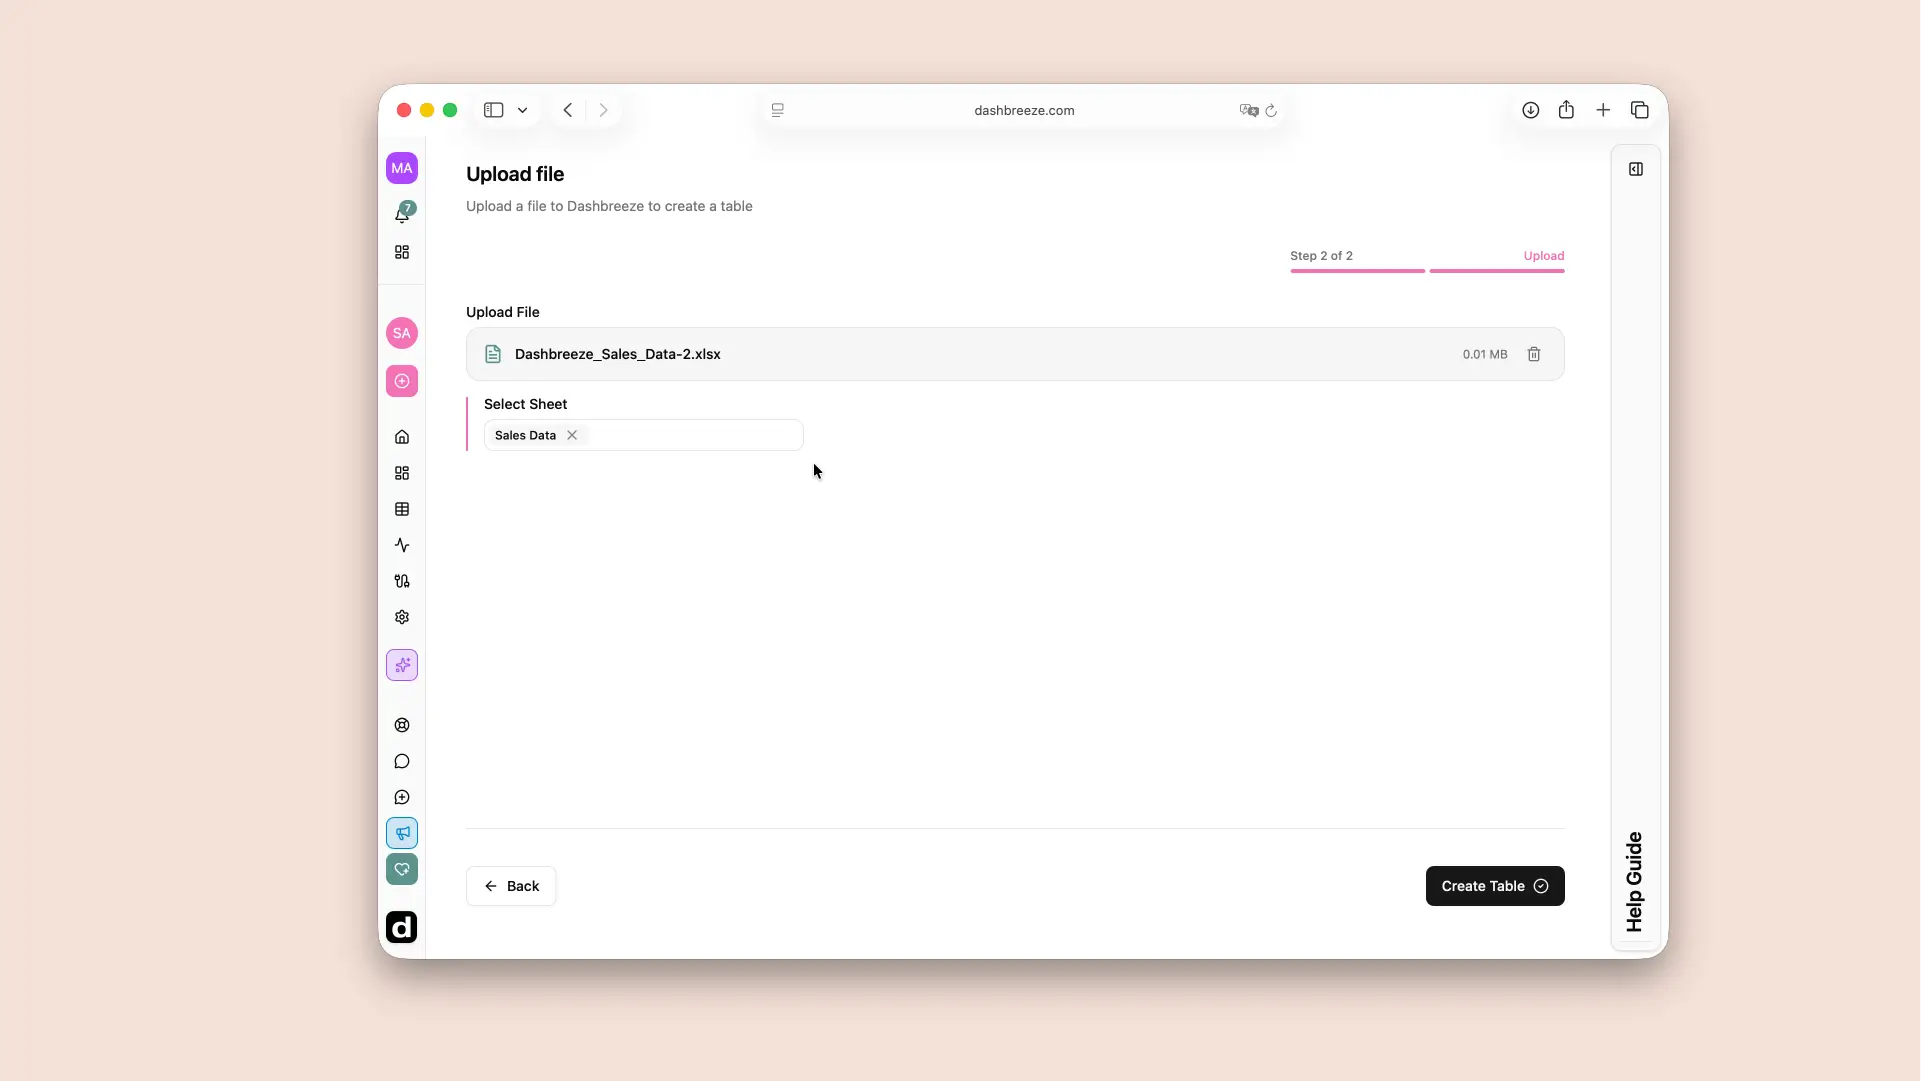
Set up each Excel worksheet like a simple Google Sheets table. Use the first row for column names, then place one item on each row underneath. Do not put multiple tables, report titles, or notes on the same worksheet.
Row-oriented (avoid this)
| Metric | Jan 3 | Jan 4 |
|---|---|---|
| Revenue | $120 | $45 |
| Orders | 3 | 1 |
Column-oriented (do this)
| Date | Revenue | Orders |
|---|---|---|
| Jan 3 | $120 | 3 |
| Jan 4 | $45 | 1 |
Instead of creating a new column for every date, keep all dates in one Date column and add a new row for each record.
Open the table and select Sync data. Then choose the latest version of your file. Keep the same column names and worksheet names so your charts, metrics, and other dashboard content continue to use the correct data.