

What is a Data Source?
Understand how your data is imported into Dashbreeze.


Open Tables in the left sidebar to manage the tables in your workspace. From this page, you can find a table, open it, rename it, or delete it. You can also create a new table.
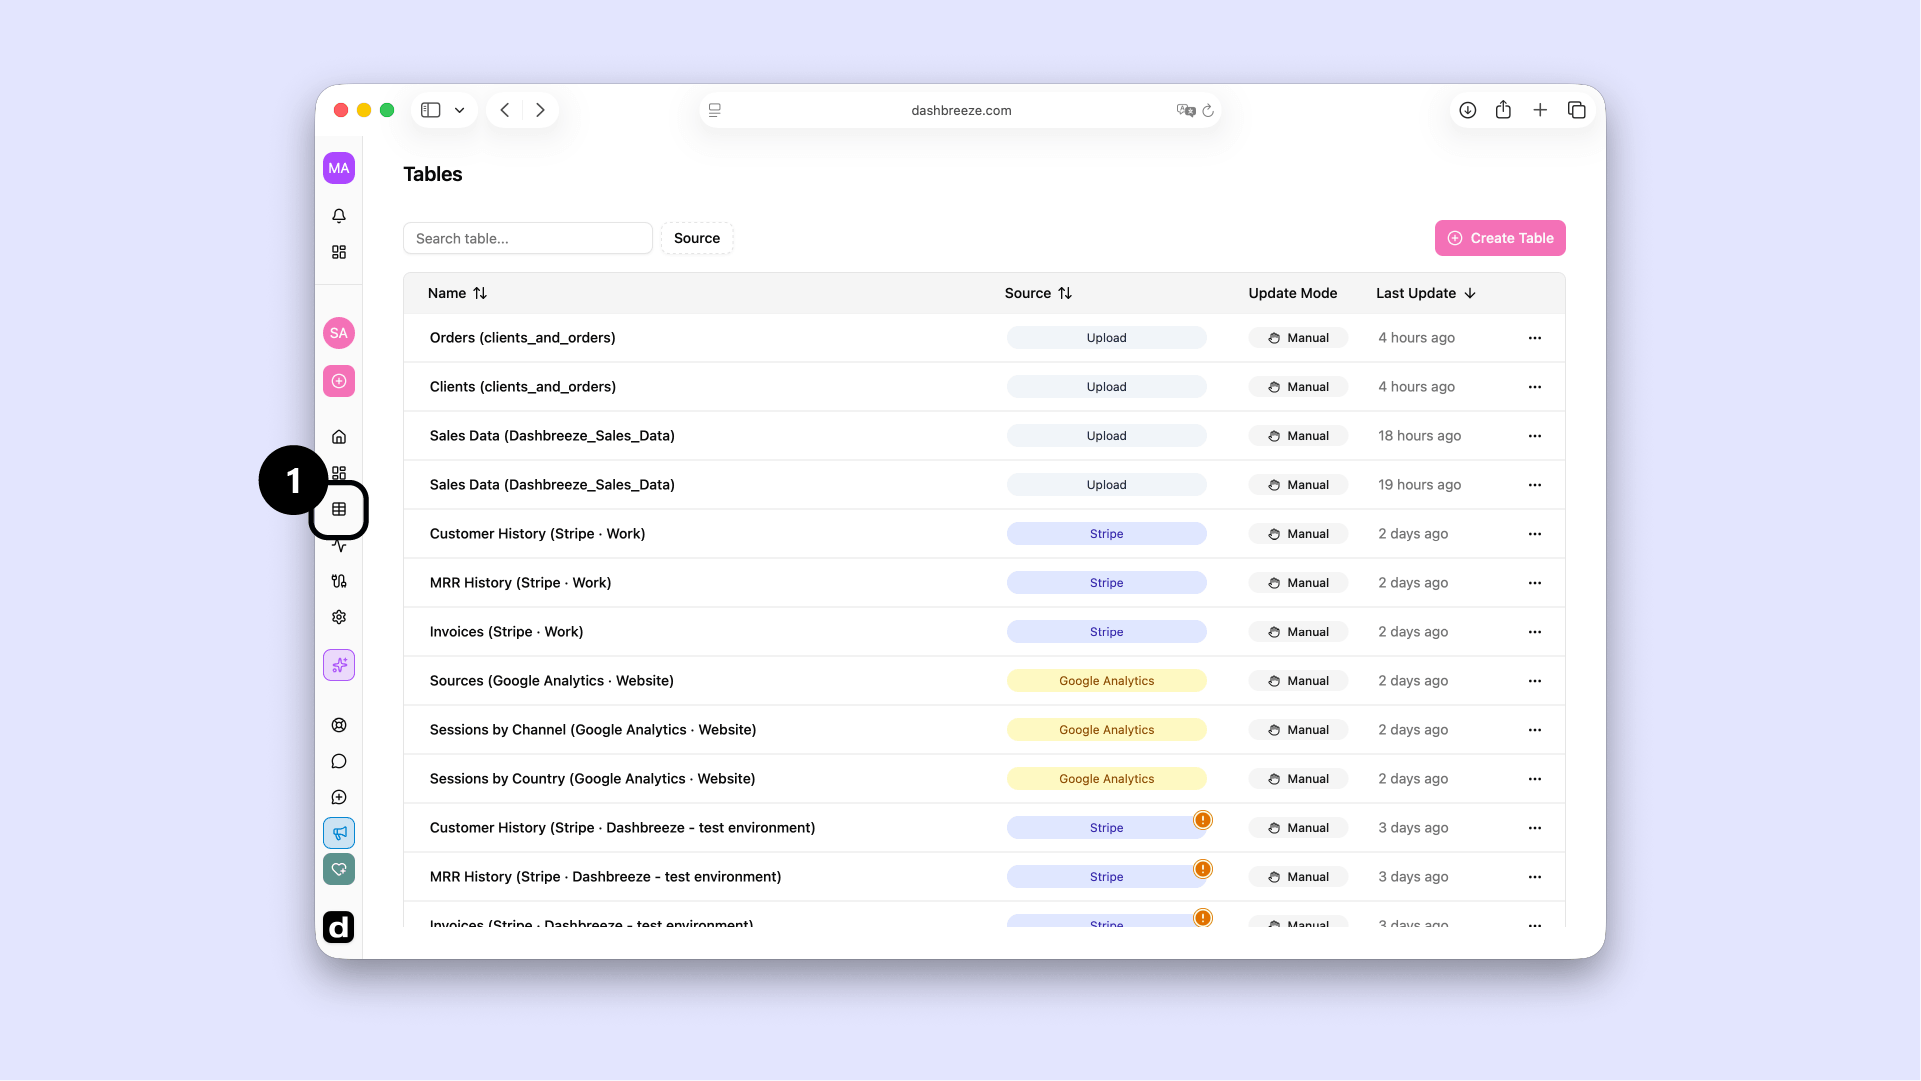
Each row gives you a quick summary of one table:
Name
The name used to identify the table in Dashbreeze.
Source
Where the table data comes from, such as Google Sheets, a database, or an uploaded file.
Update Mode
Manual means you start each refresh. Automatic means Dashbreeze can refresh the table on a schedule.
Last Update
How long ago the table information was last updated.
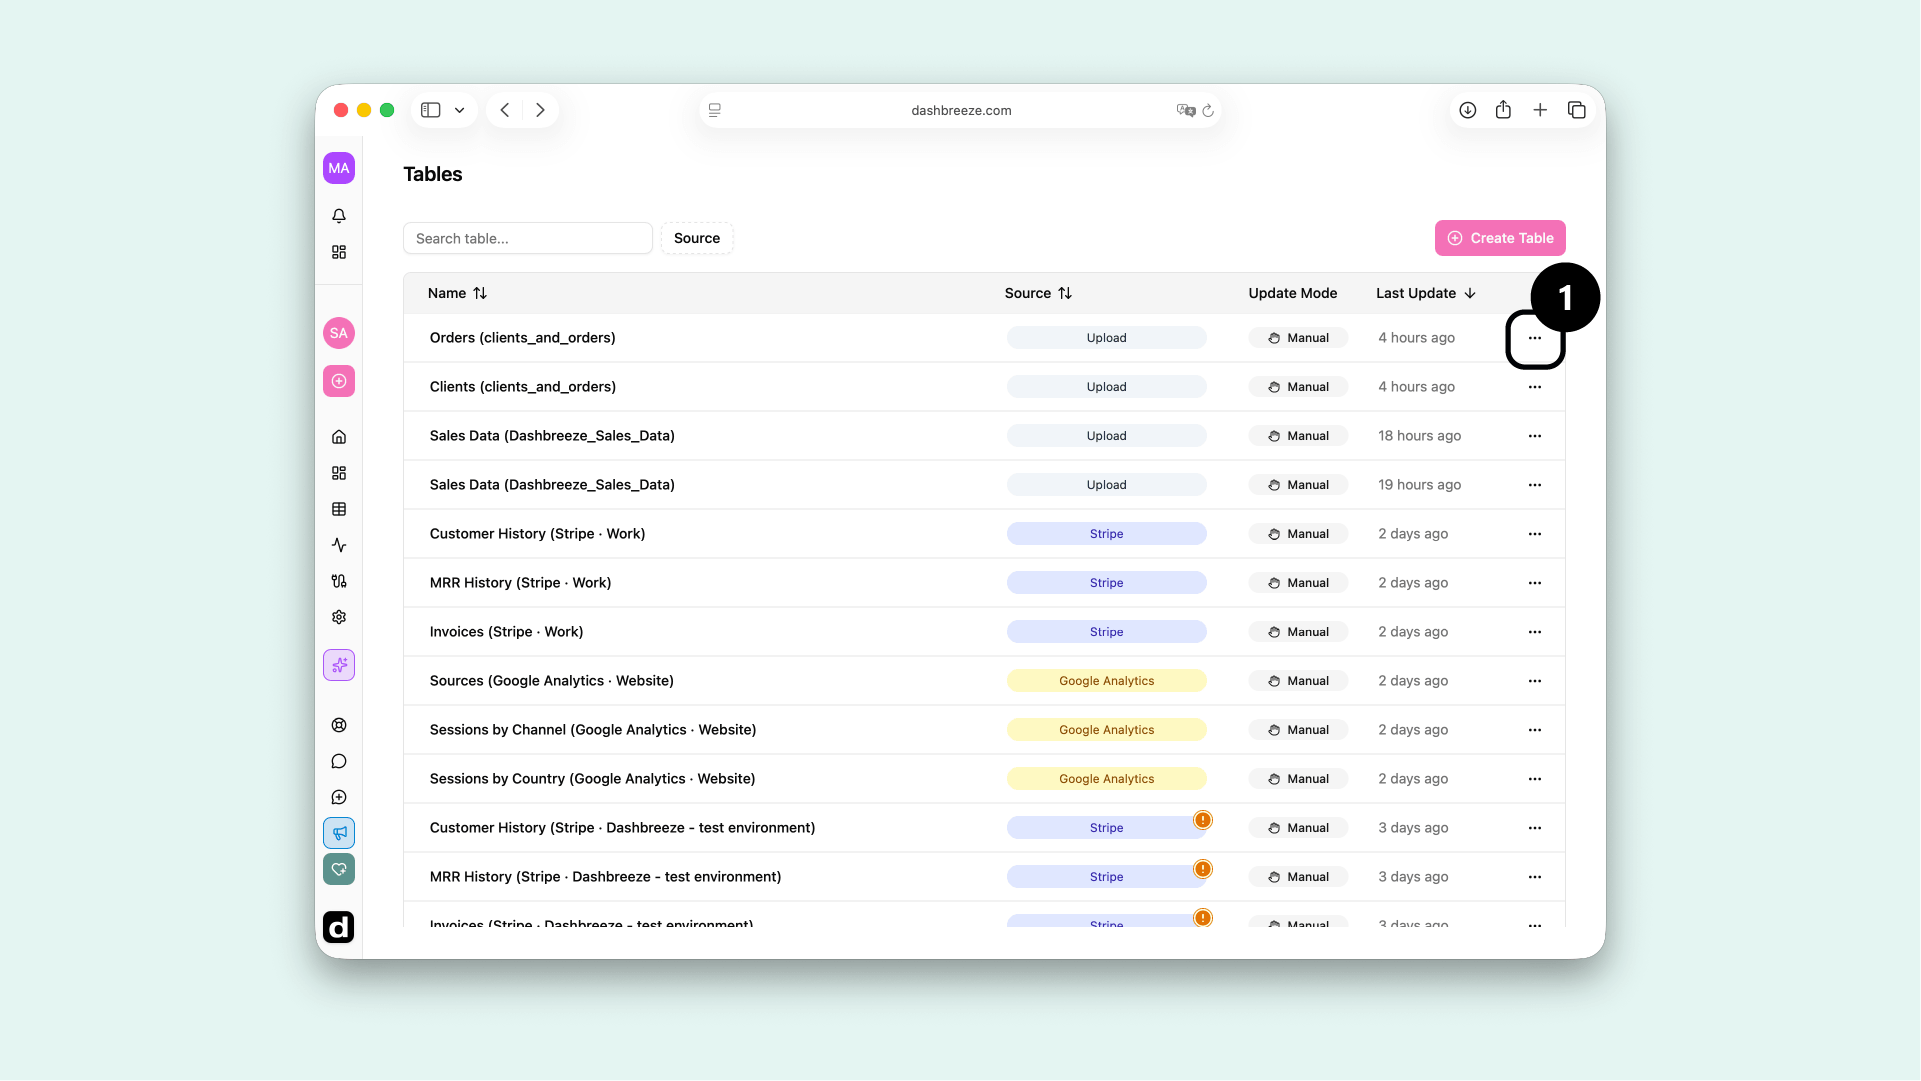
Enter part of a table name in Search table. You can also use Source to show tables from specific sources only.
Select Clear to remove the search and source filters. Select the sort icon next to a column name to change the order of the tables.
This opens the table editor. Here, you can inspect the data, refresh the table, and manage its transformation steps.
Renaming does not change the data:Only the table name changes. Its source, transformation steps, and refresh settings stay the same. The table also remains connected to its dashboard blocks, so you do not need to reconnect it.
Select Create Table above the list. Then choose where the data comes from and follow the steps to import it.
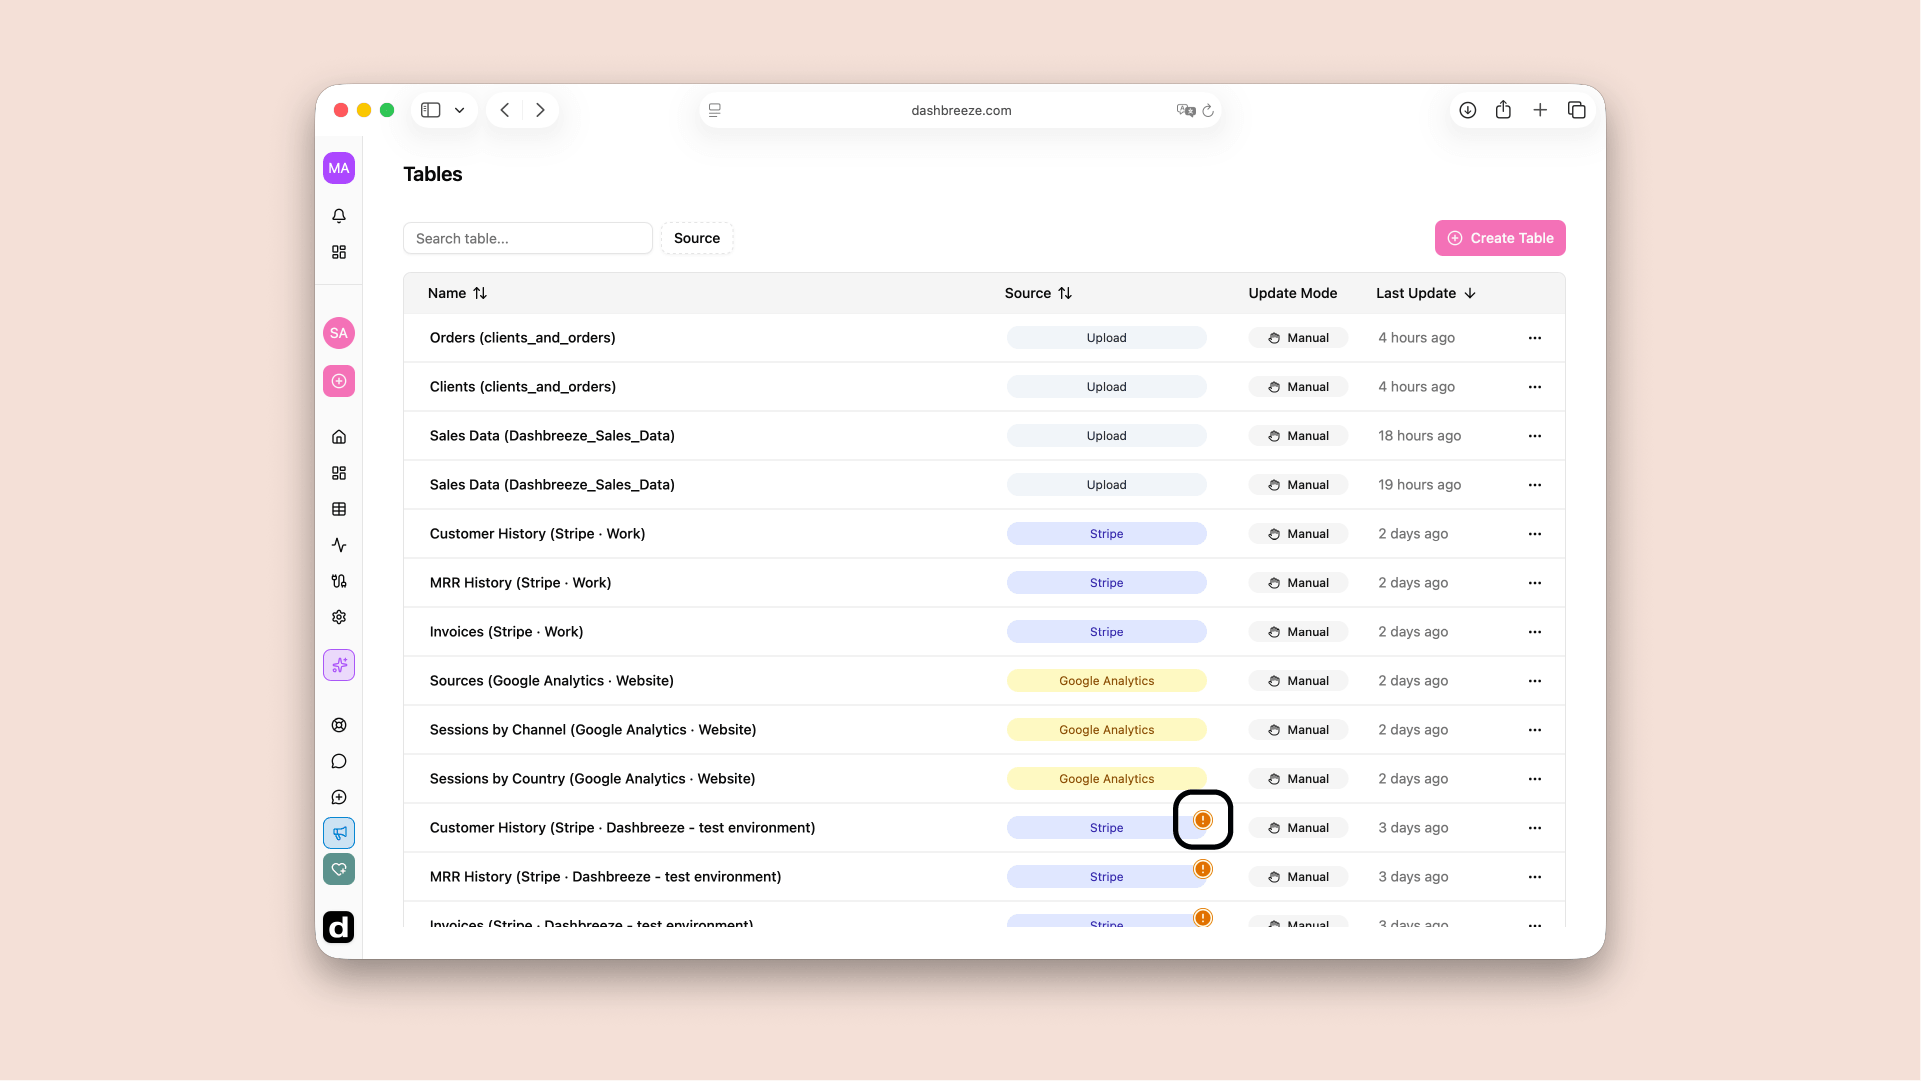
If the integration behind a table is deleted, the Source column shows an alert. The table stays in your workspace with its last synced data, but it can no longer refresh. To restore updates, recreate the integration, then create the table again from it.
Deletion is permanent:You cannot restore a deleted table. Blocks and metrics that use it will stop working. Review the connected dashboard blocks before you confirm the deletion.